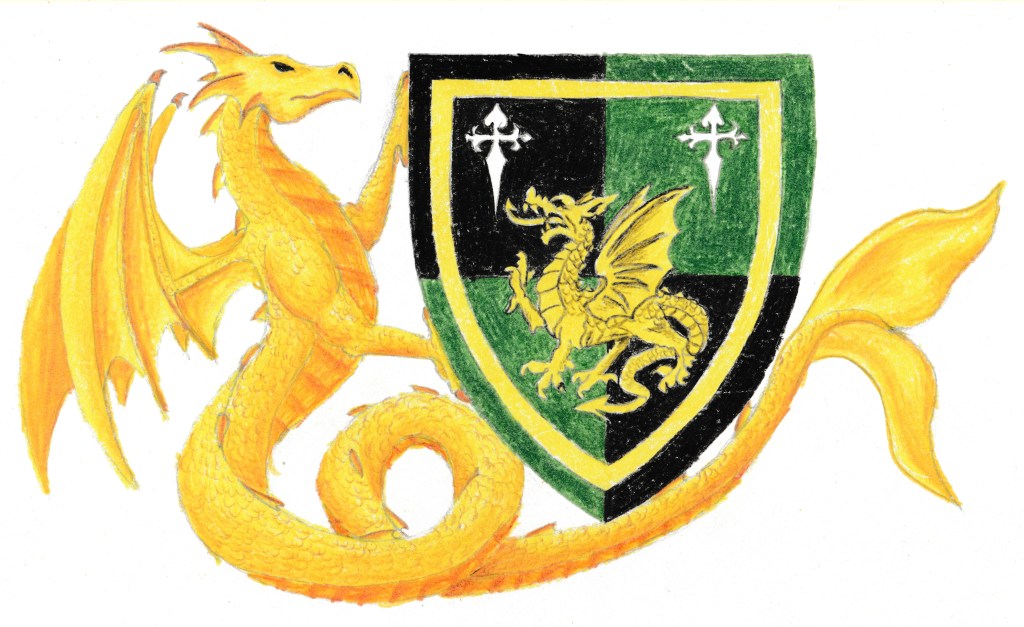
My first doublet that I made was a project I started because I wanted to look good for my Lady’s elevation yet it turned out to be my own elevation garb. I have a blue doublet that has a long skirt below the waist and detatchable sleeves which I love to wear in the shoulder seasons so I modeled this doublet after that but with a few alterations. I looked at the “Tudor Tayler” book for historical references and tips. I wanted something that was wool, within my heraldic colors and Scottish appropriate. I found patterns and descriptions for doublets that had no skirt, short skirt, sleeved and sleevless. Taking the patterns from my blue doublet as a base to start from I made the needed adjustments to create new pattern pieces.
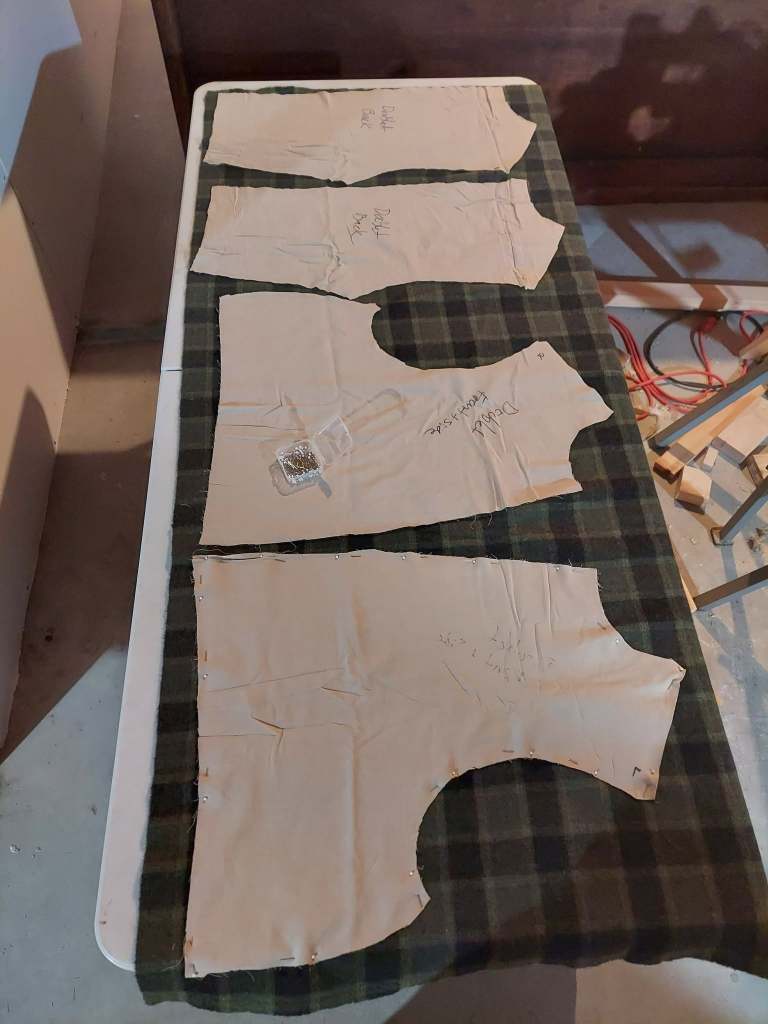
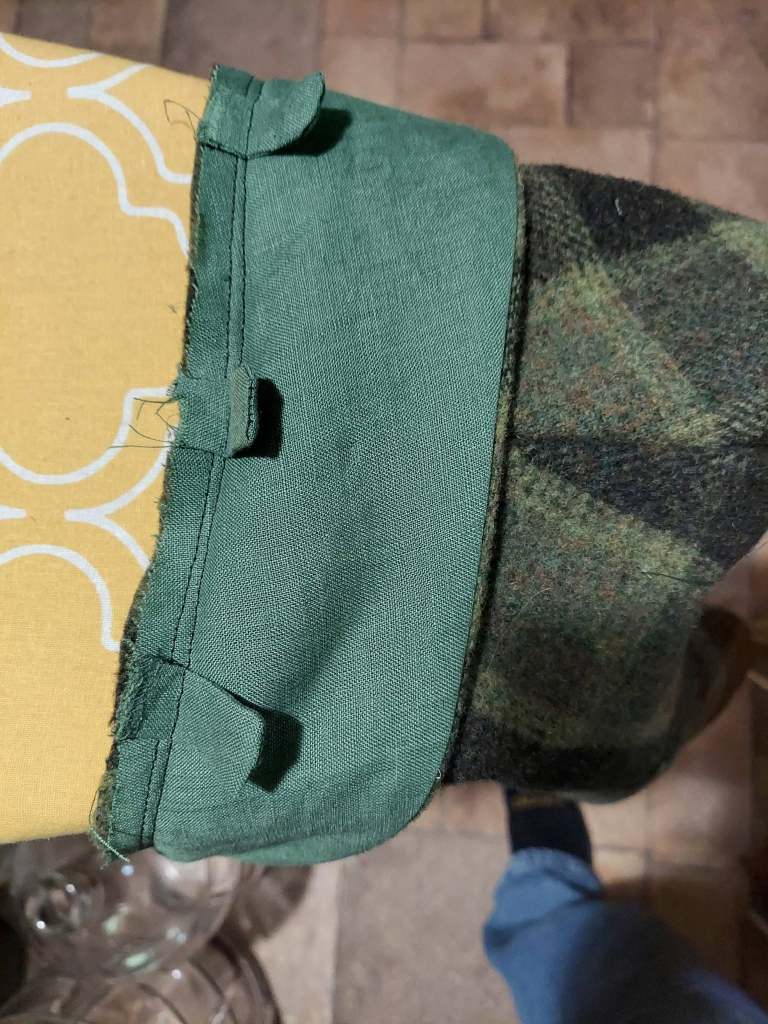
I found 100% wool in a tartan style that fit my color design and in the heavy weight category. For extra insulation I chose to add a linen lining which will help with moisture as well. When laying out the patterns to cut I paid attention as much as possible to the alignment of the plaid to how the seams would line up. As you can see it was not perfect, the skirt section did not line up as well, partly due to available dimensions of fabric. My Lady helped with pining the patterns together for fit testing and final adjustments while teaching me how to hand sew. I did use a machine to assemble the doublet but all the seams and buttons were done by hand which was a brand new skill set for me. For the detachable sleeves I made little linen tabs that were sewn into the seem where the shoulders met the shoulder flange. I did handsewn eyelets on each tab and on the corresponding sleeves top edge for the ties to be threaded through.
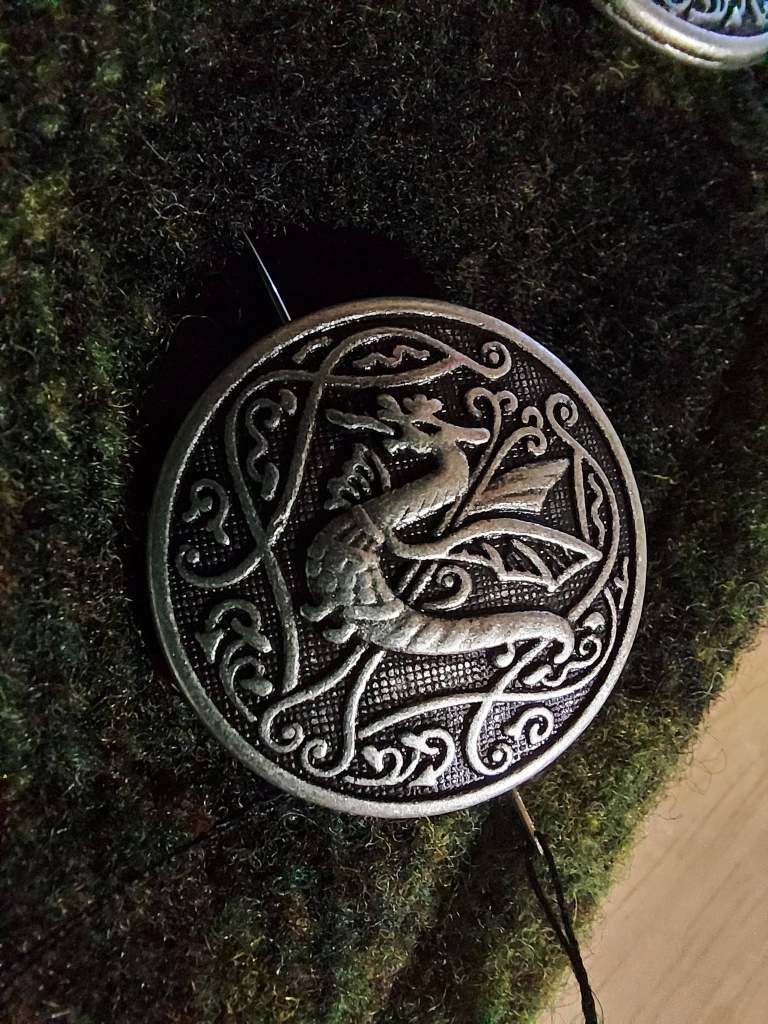
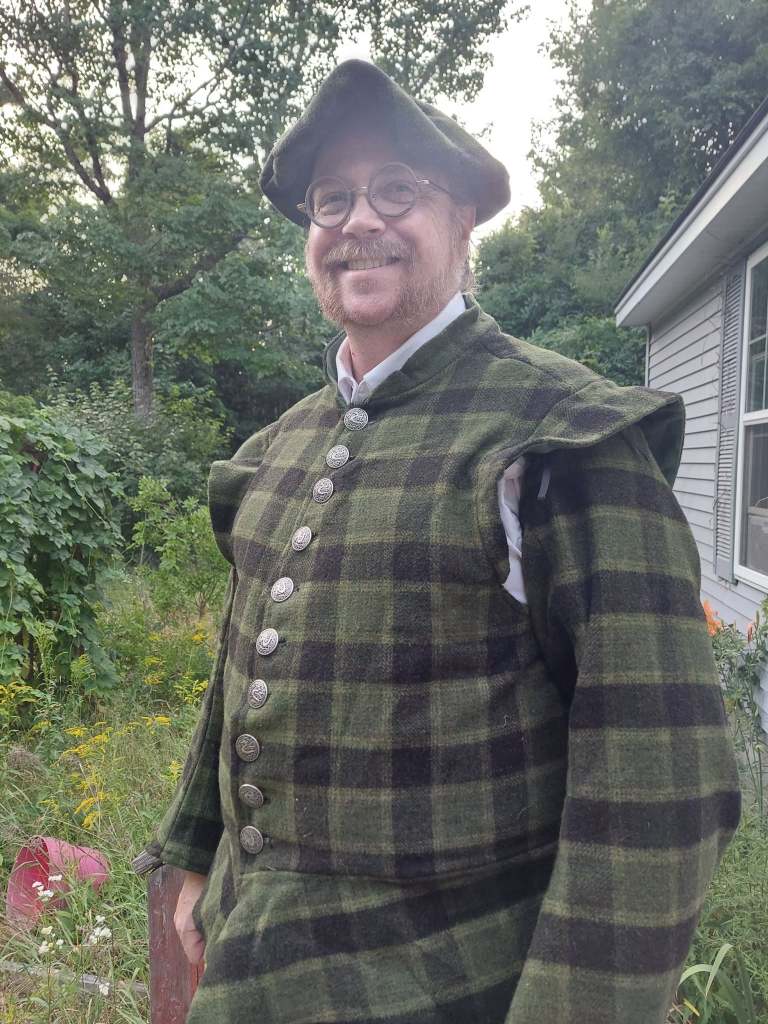
To fasten the doublet closed I opted for the button approach rather than the lacing that can also be seen widely in Tudor and Elizabethan examples. The buttons are Celtic dragons which is perfect for me. My first design was the button loops that slip over the button however after hours sewing them into place multiple times I could still not get them to line up correctly without leaving gaps or awkward bunching.
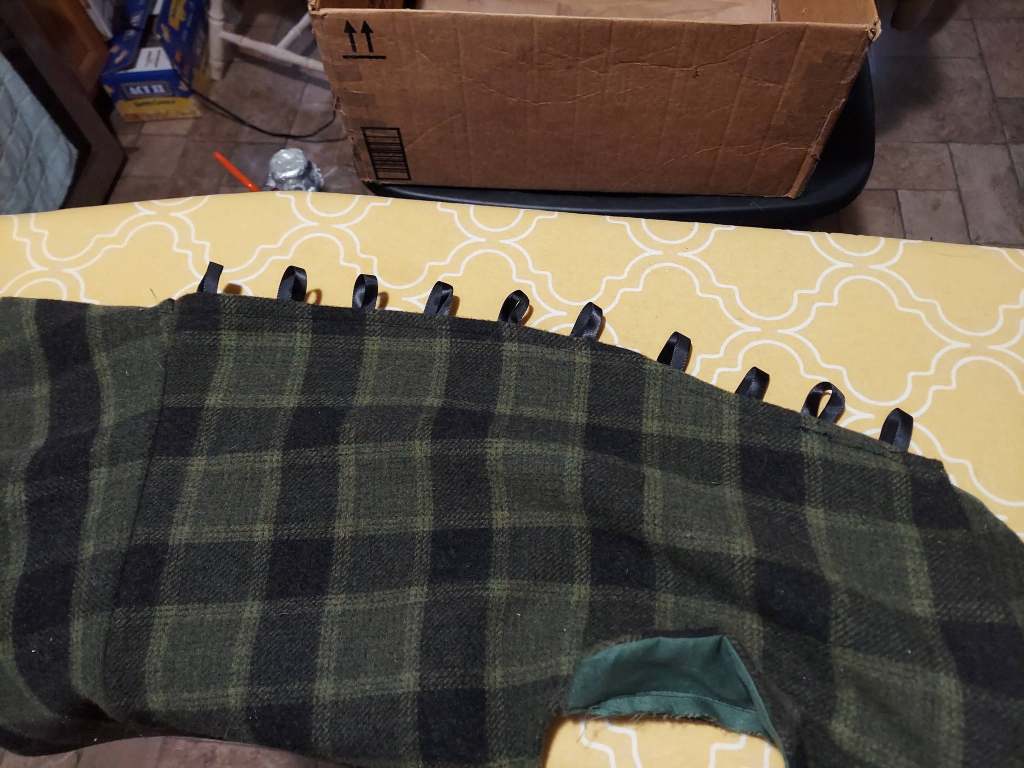
After much frustration I ended up asking my Lady to teach me how to make button holes by hand. My machine had gone into mechanical fits by then and time was a factor so hand work was going to be the most expedient option, as much as I was reluctant to trust my hand sewing skills. Overall I liked the result and I got pretty confident in my craftsmanship as I made progress.
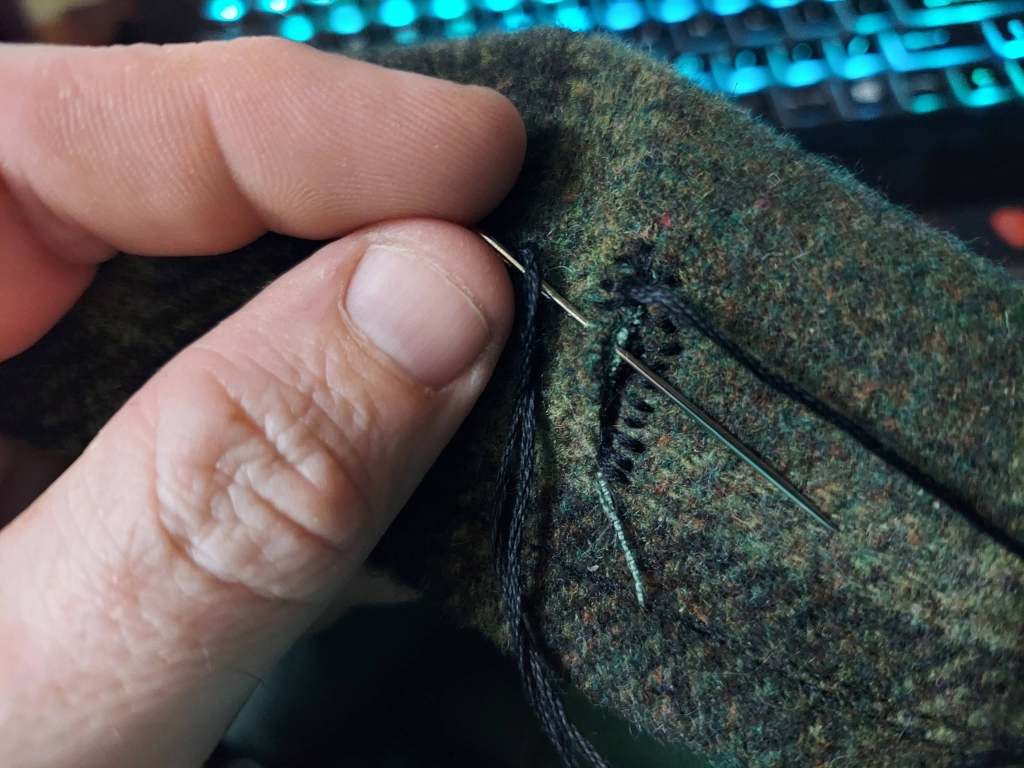
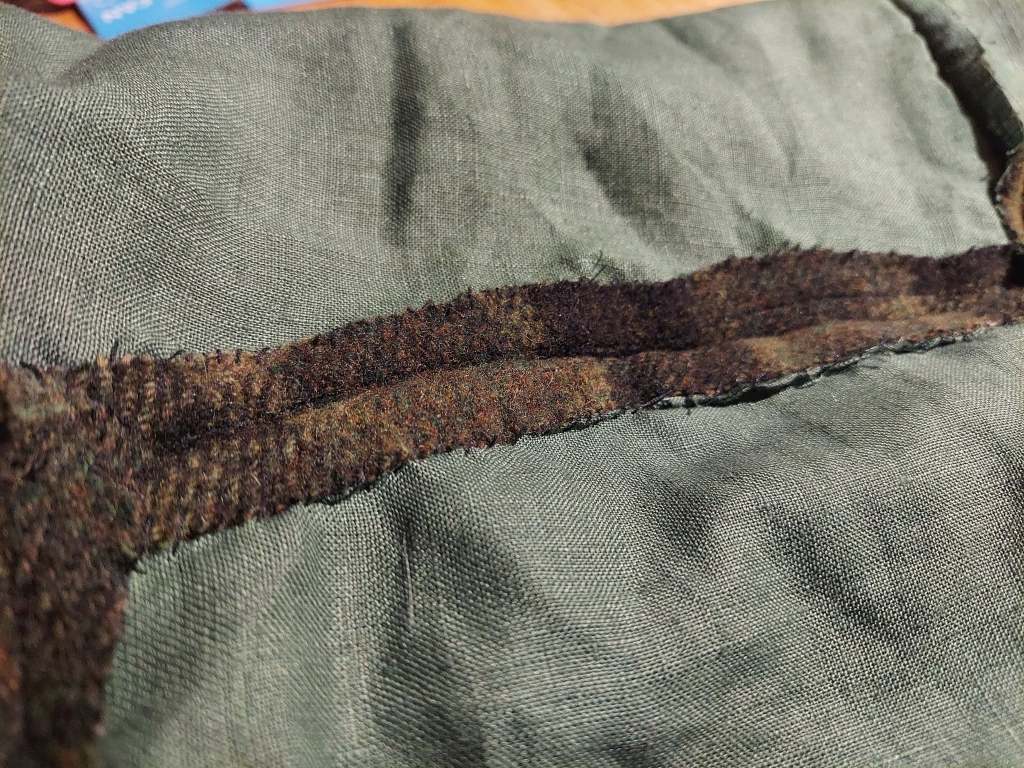
Now that my doublet was assembled it was time to do the finish work which once again was all hand done. I flattened out the seams inside and proceeded to whip stitch each edge. This was the most time consuming part and I spent many hours sewing while watching movies, sitting in camp and waiting in my truck for people to come out of stores or appointments.
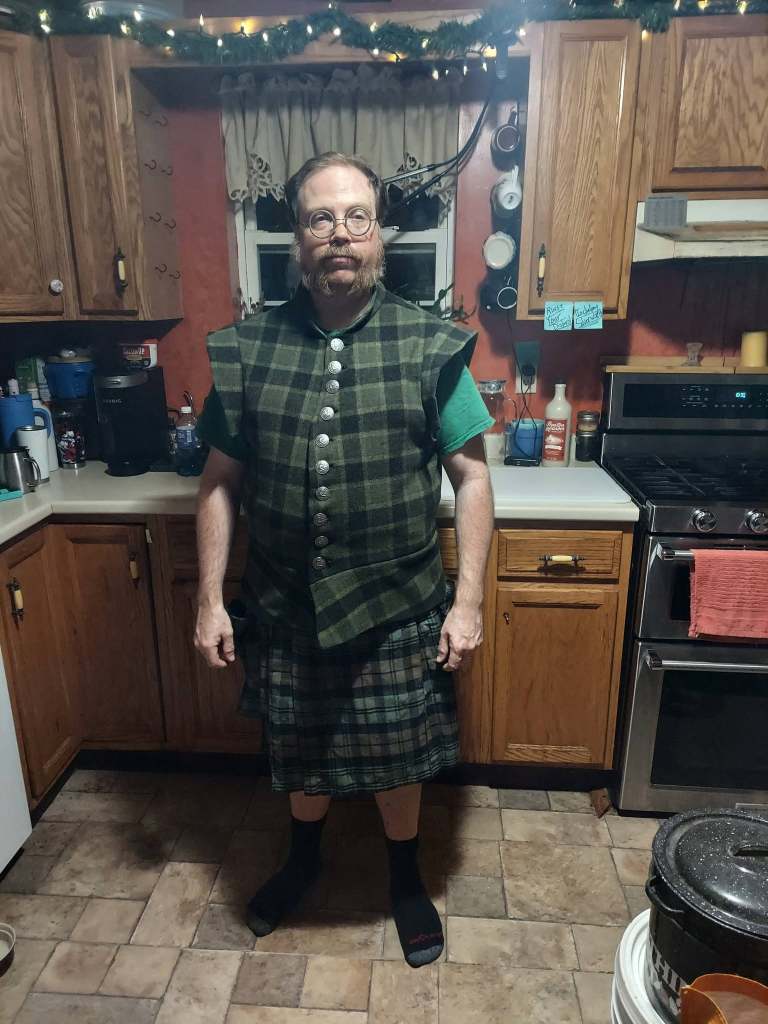
My final test fitting with the buttons was a success!
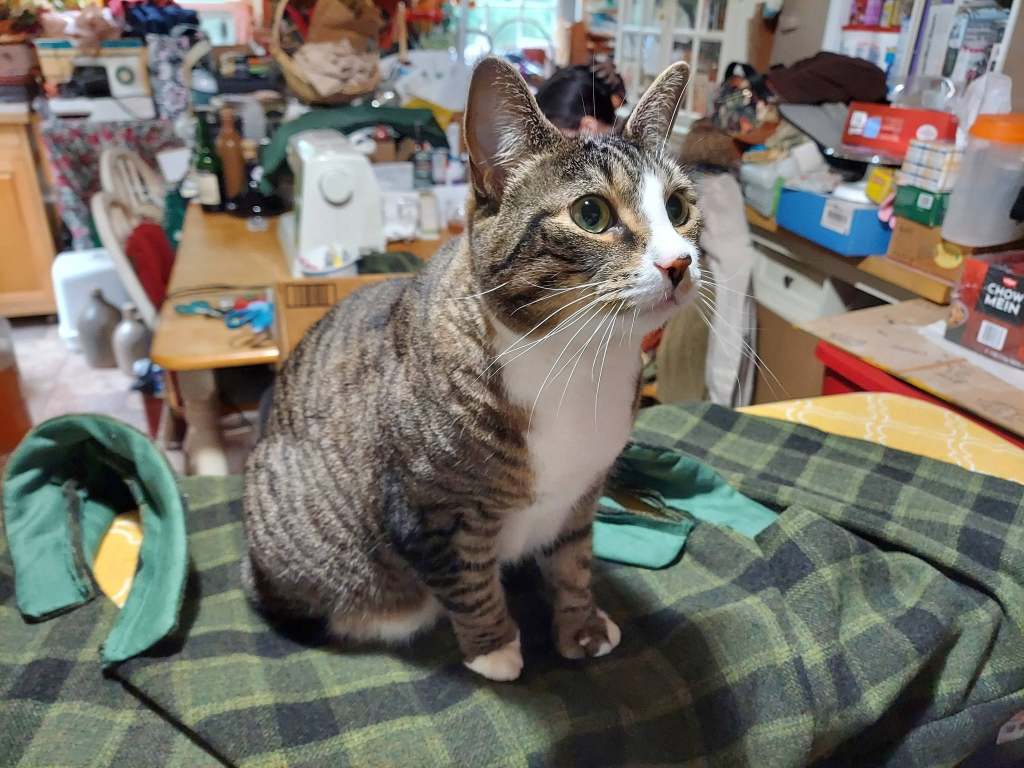
The final touch after tying on the sleeves was to make the matching bonnet. I always get an extra 1/2 yard of the plaid to make a matching bonnet whether it’s just a great kilt, doublet or tunic. I will also mention that not only did my lady help me along but I was thoroughly supervised by the one who approves all my wool purchases.